I am so not a writer but here goes.
First we must understand how ice freezes as we try and make an ice ball from a mold. When you use a mold the entire surface of the water is exposed to the cold air. It freezes from all sides pushing the impurities to the center which gives ice its white cloudy unattractive appearance. Also, the middle is the last part to freeze and what do we know about water as it freezes? It expands thus cracking the already frozen water around it.
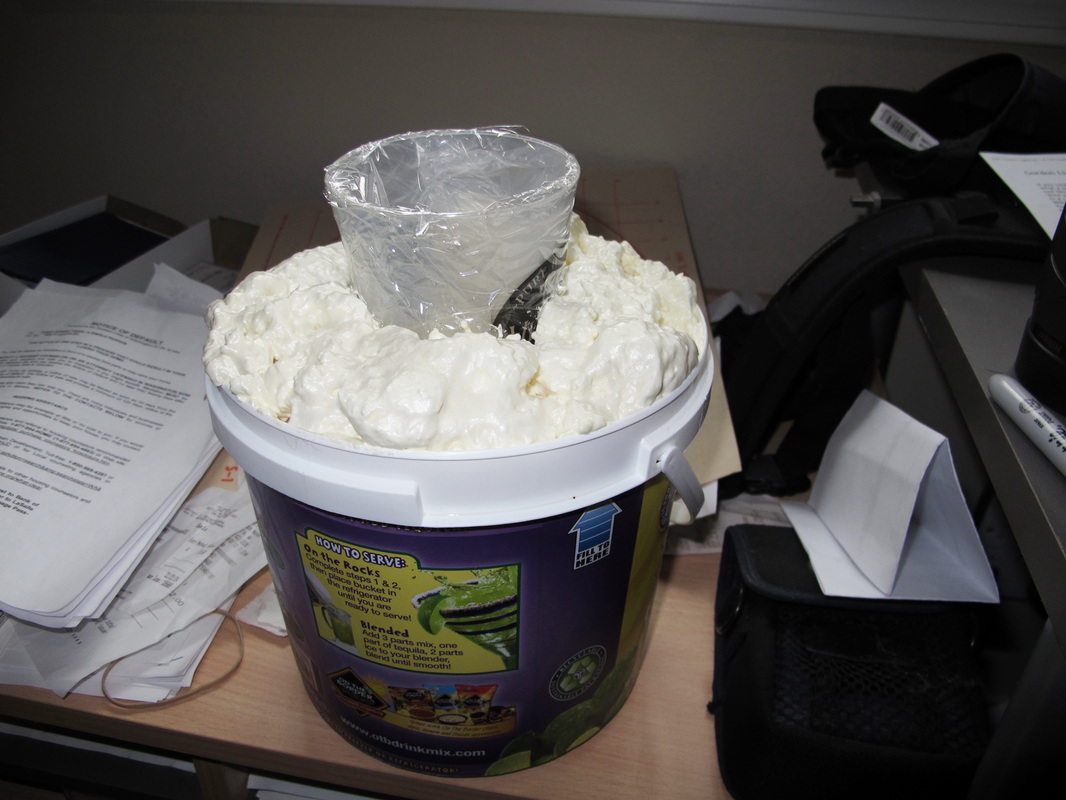
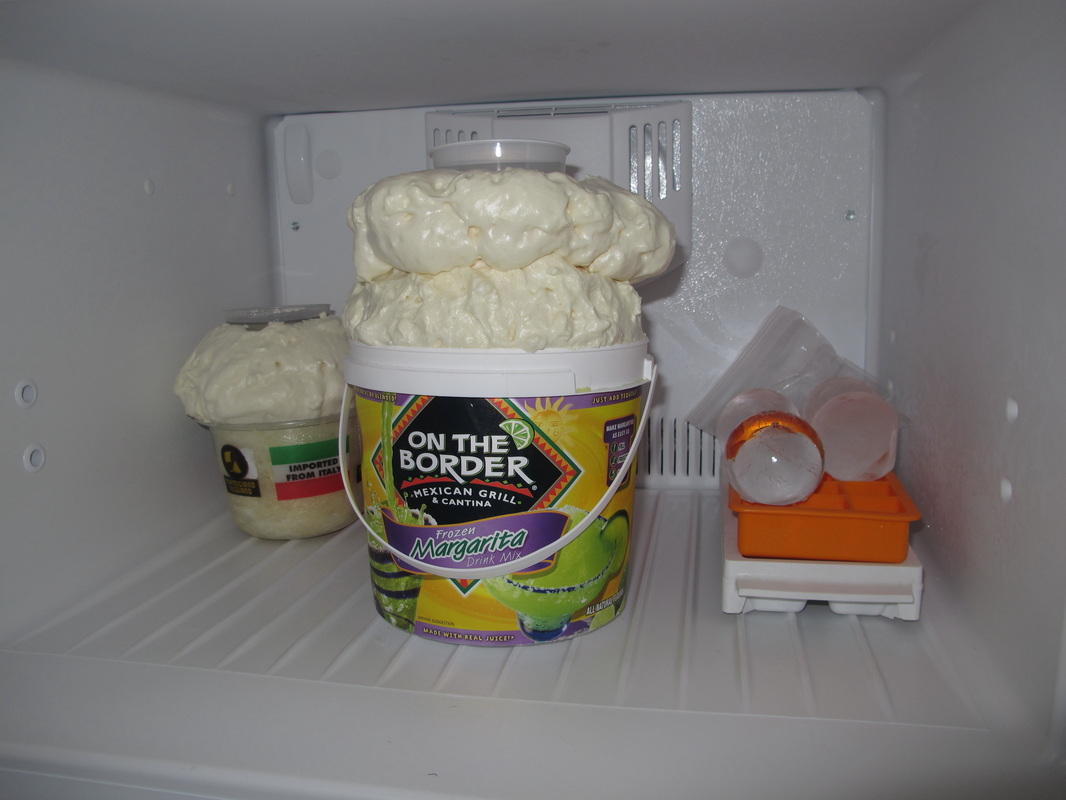
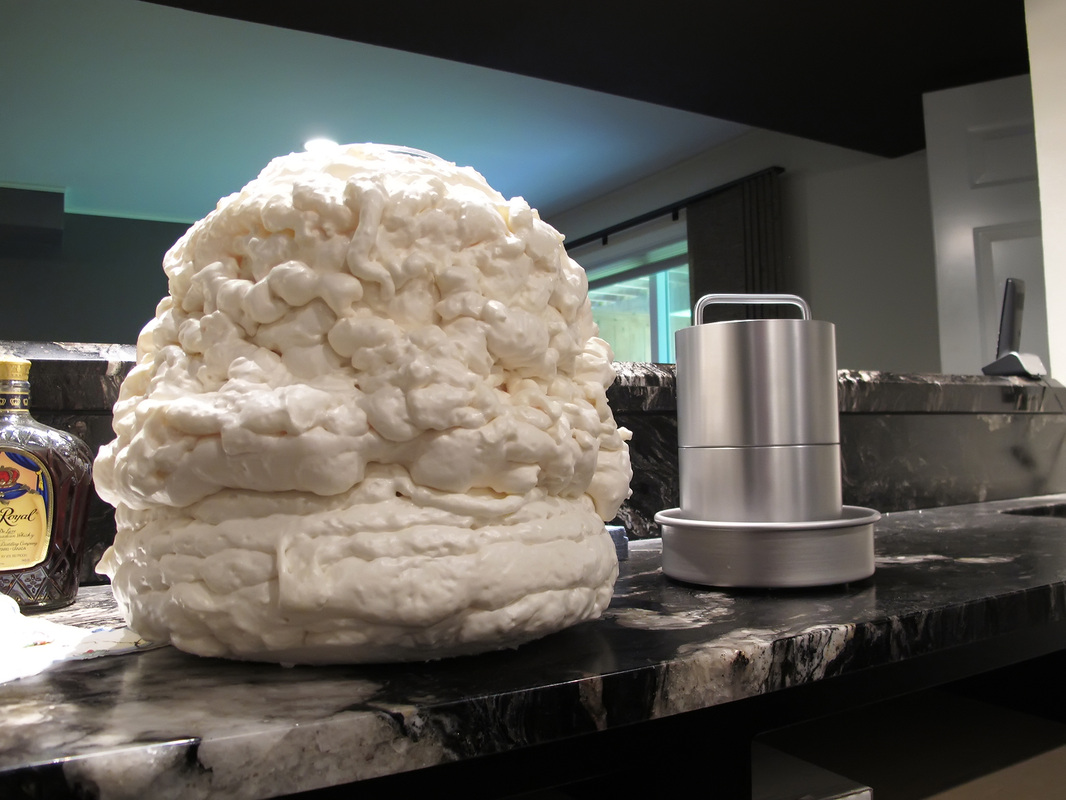
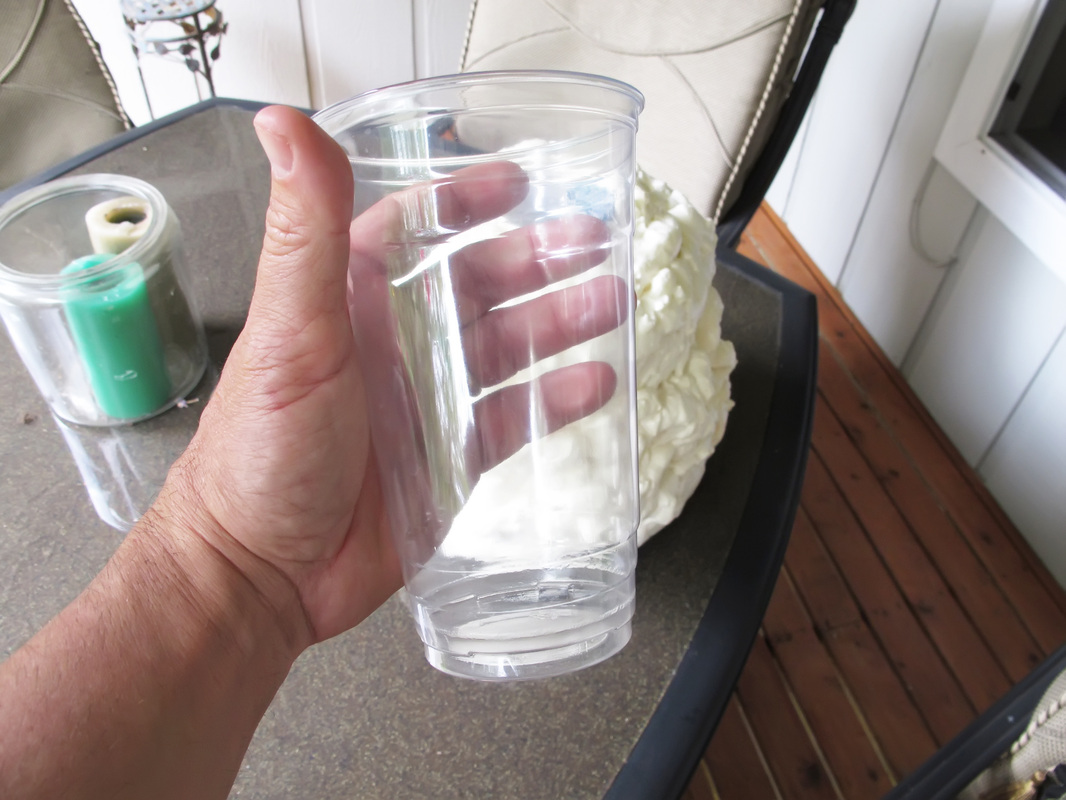
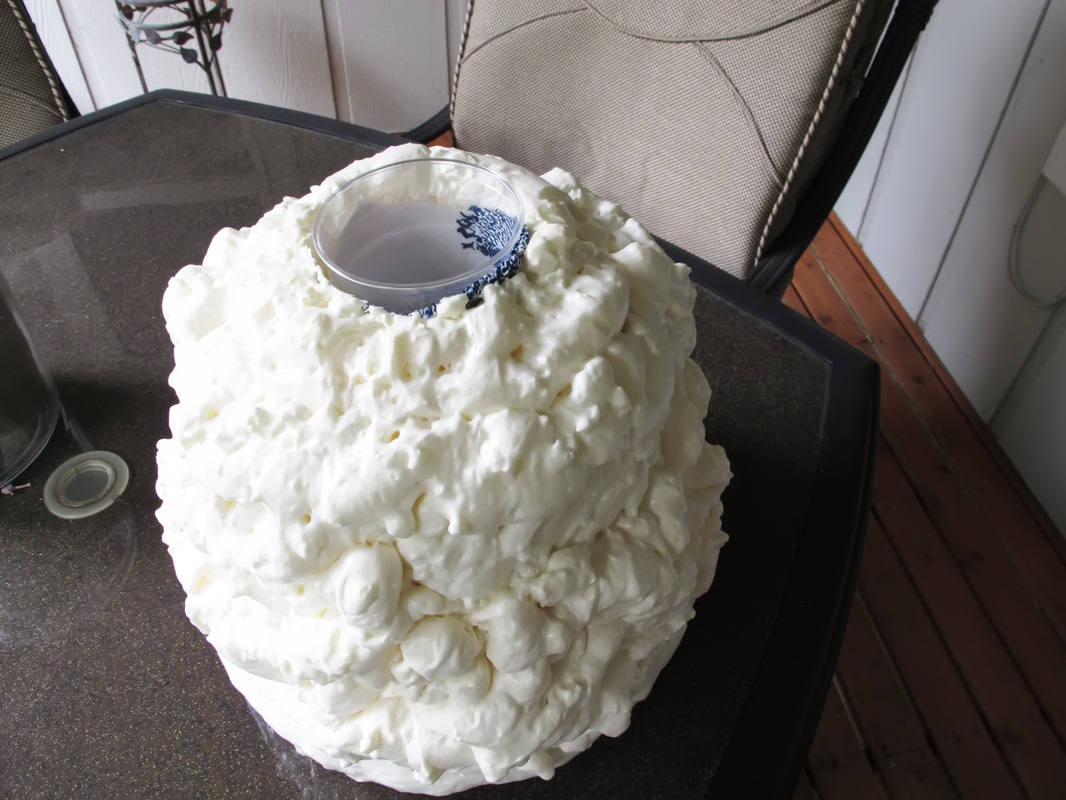
I tried everything on you tube. Nothing worked. All attempts just did not work. I boiled the water, used distilled water and boiled twice. It made a little difference but not much. I finally found a video that showed how to get a crystal clear ice plug. Here is what you have to do. Get some clear plastic cups. For my ice ball maker I find a 24 oz works great. Then you have to get some liquid insulation in a can. I also used a big plastic empty tub from a margarita mix that you put in the freezer. I started with the insulation in the bottom of the bucket and up the sides of the bucket. Then I clear plastic wrap the plastic cup and set it in the center and fill around it with insulation. You will have to stop and let it dry several times to get it just right. Look at the pic below to see how to build. You just keep working it and working it until the cup is surrounded by the insulation as you can see in the second picture. I then too it out of the bucket and used more insulation until it looks like the third picture. This is what I use today to get clear ice plugs. Then you have to take out the cup and plastic wrap and with a sharp knife or file you need to work the insulation inside to make that cup fit perfect ( the cup with get pushed together when the insulation dries so you have to cut away some of it to make that cup fit )
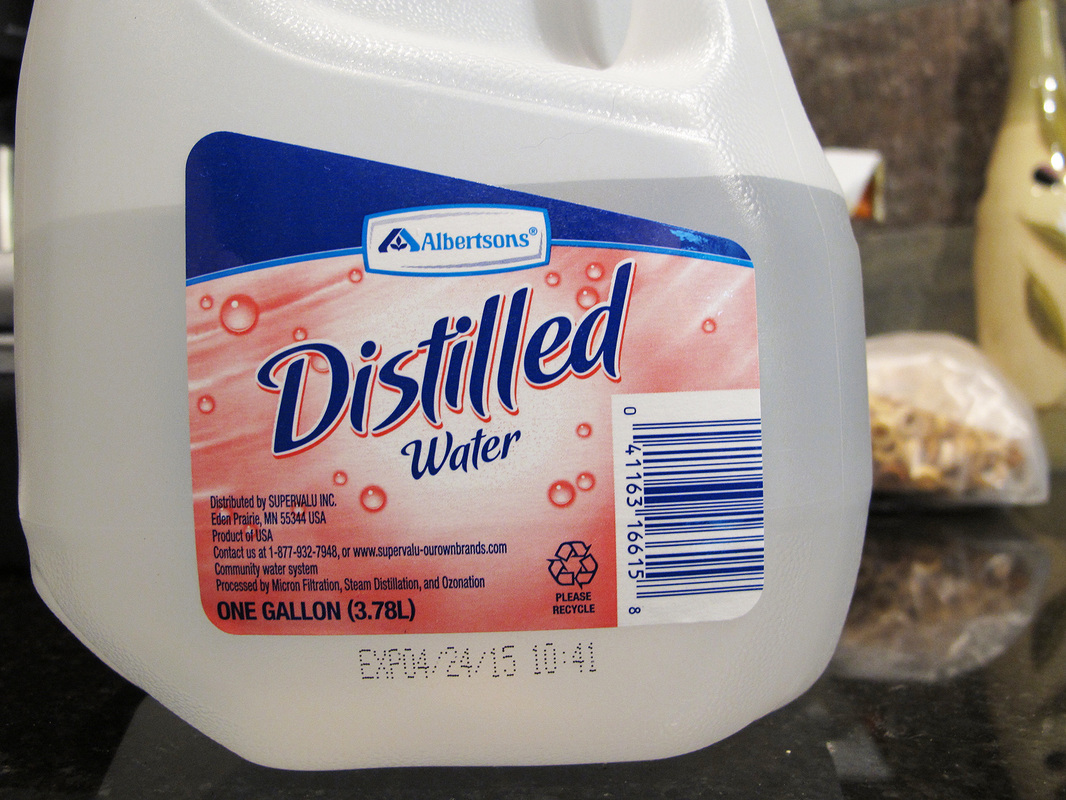
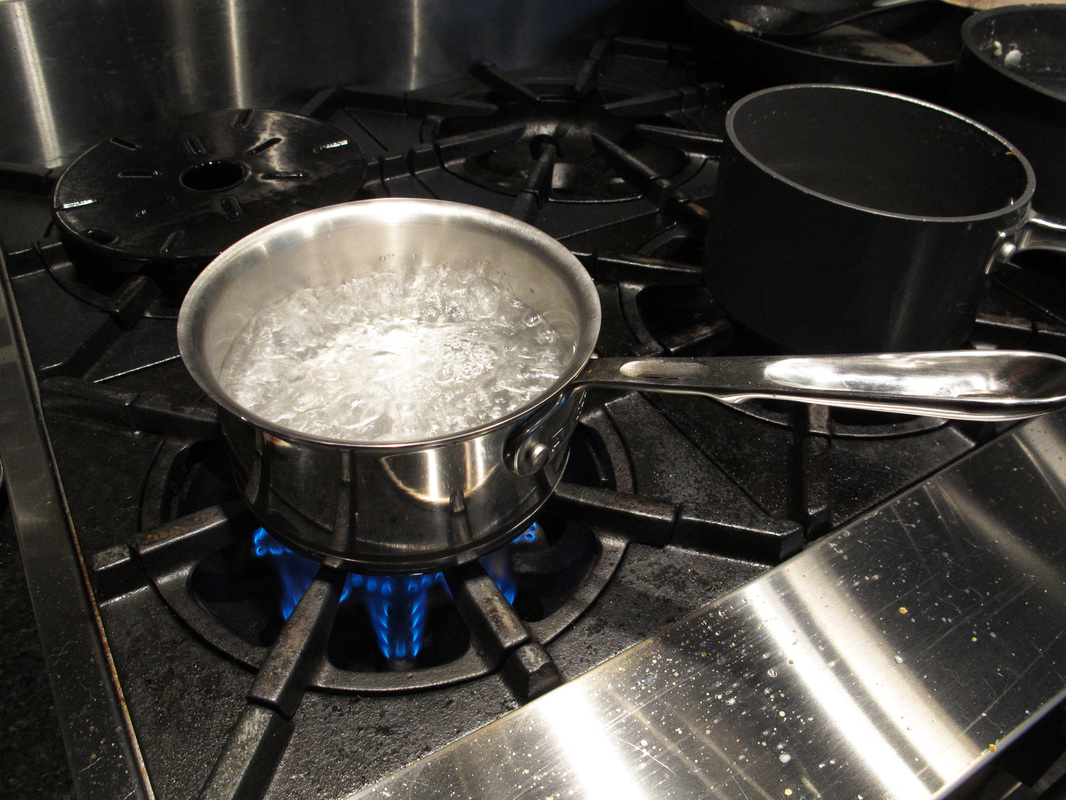
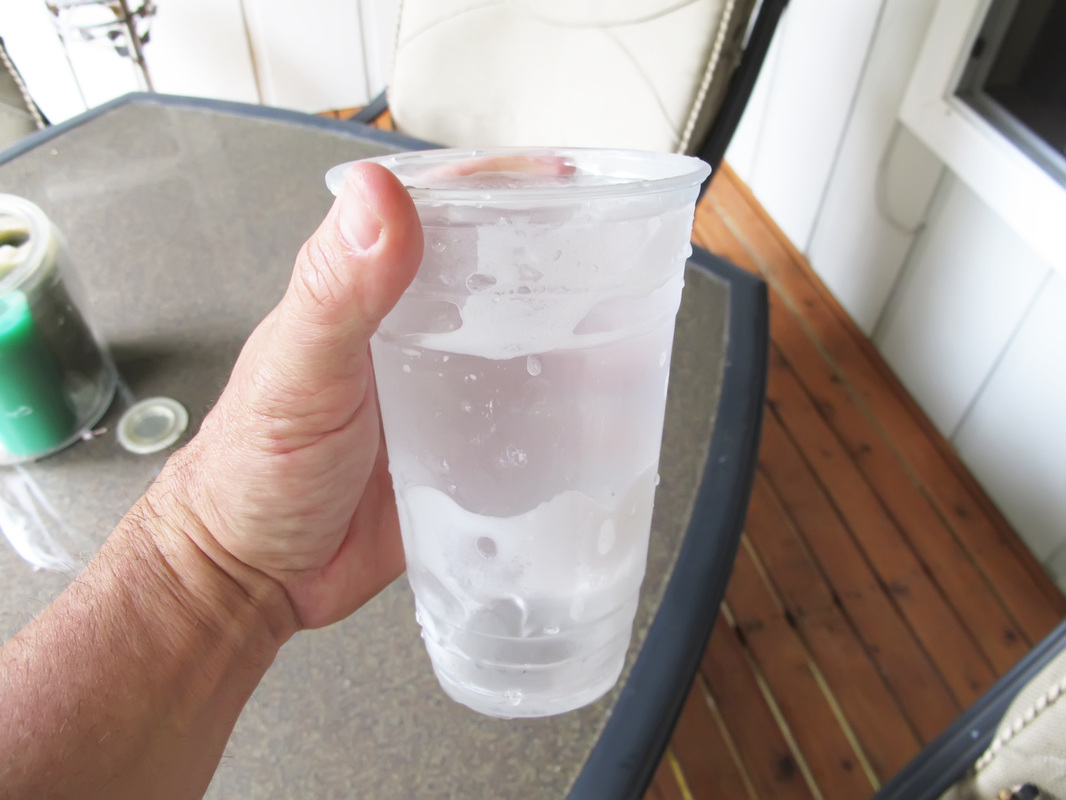
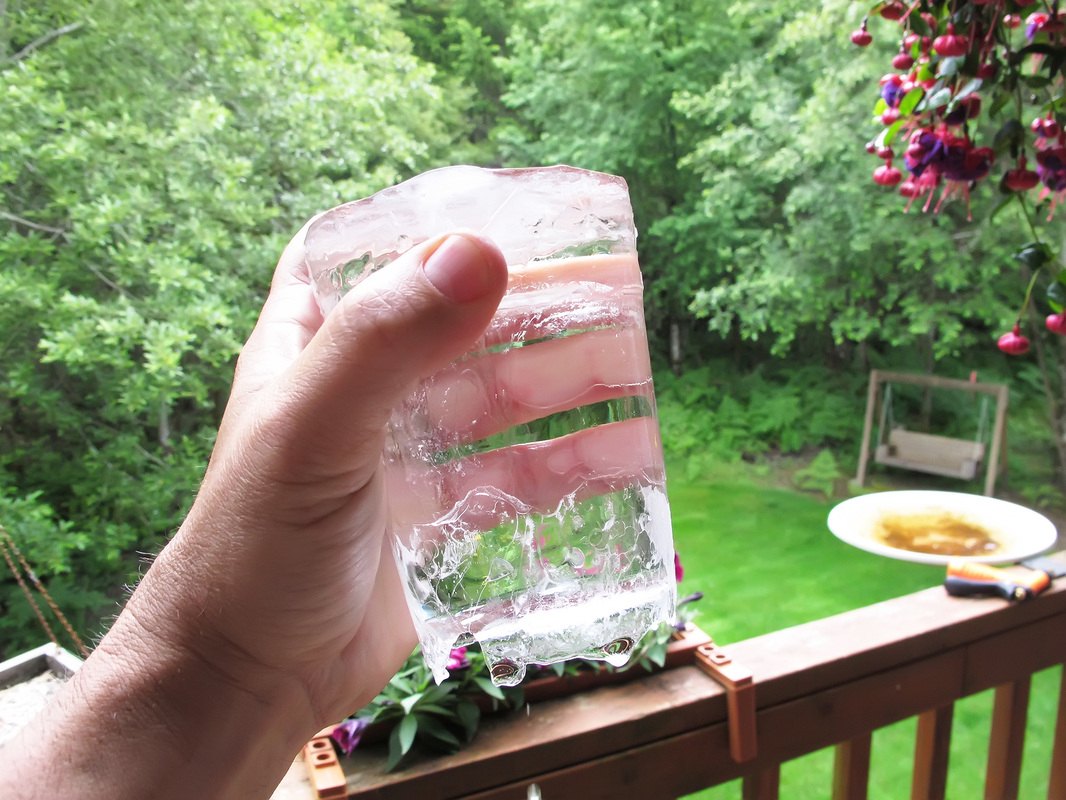
Now all you have to do is boil some high quality water. ( now I have seen many people online say boiling does nothing, but for me it does make a big difference in the clarity ) Let it come to room temp and then boil it again both times just for a minute. Then let the second boil cool down a bit but still hot. Pour the hot water into your cup that is sitting in your dried insulation ice maker and put it in your freezer. After a day and a half, pull it out and check to see where the freeze level is. Once it gets to 3/4 of the cup it is time to pull it out. You don't need the whole 24 oz cup frozen and the bottom will be cloudy with impurities that were pushed down while freezing. Run warm water around the outside of the cup to release the ice. Pull it out and melt away that partially frozen bottom and there you have it, a crystal clear ice plug. The photo below shows flaws in the ice plug in my hand. This is only on the outer layer of the ice plug, not throughout. You can make an ice ball now or put it back in the cup and back into the freezer for later. It's really cool if an air bubble forms close to the middle and creates these flat spheres. I will take some photo's soon with these. There is one photo of the first time that happened on the "photo's" page.
First we must understand how ice freezes as we try and make an ice ball from a mold. When you use a mold the entire surface of the water is exposed to the cold air. It freezes from all sides pushing the impurities to the center which gives ice its white cloudy unattractive appearance. Also, the middle is the last part to freeze and what do we know about water as it freezes? It expands thus cracking the already frozen water around it.
I tried everything on you tube. Nothing worked. All attempts just did not work. I boiled the water, used distilled water and boiled twice. It made a little difference but not much. I finally found a video that showed how to get a crystal clear ice plug. Here is what you have to do. Get some clear plastic cups. For my ice ball maker I find a 24 oz works great. Then you have to get some liquid insulation in a can. I also used a big plastic empty tub from a margarita mix that you put in the freezer. I started with the insulation in the bottom of the bucket and up the sides of the bucket. Then I clear plastic wrap the plastic cup and set it in the center and fill around it with insulation. You will have to stop and let it dry several times to get it just right. Look at the pic below to see how to build. You just keep working it and working it until the cup is surrounded by the insulation as you can see in the second picture. I then too it out of the bucket and used more insulation until it looks like the third picture. This is what I use today to get clear ice plugs. Then you have to take out the cup and plastic wrap and with a sharp knife or file you need to work the insulation inside to make that cup fit perfect ( the cup with get pushed together when the insulation dries so you have to cut away some of it to make that cup fit )
Now all you have to do is boil some high quality water. ( now I have seen many people online say boiling does nothing, but for me it does make a big difference in the clarity ) Let it come to room temp and then boil it again both times just for a minute. Then let the second boil cool down a bit but still hot. Pour the hot water into your cup that is sitting in your dried insulation ice maker and put it in your freezer. After a day and a half, pull it out and check to see where the freeze level is. Once it gets to 3/4 of the cup it is time to pull it out. You don't need the whole 24 oz cup frozen and the bottom will be cloudy with impurities that were pushed down while freezing. Run warm water around the outside of the cup to release the ice. Pull it out and melt away that partially frozen bottom and there you have it, a crystal clear ice plug. The photo below shows flaws in the ice plug in my hand. This is only on the outer layer of the ice plug, not throughout. You can make an ice ball now or put it back in the cup and back into the freezer for later. It's really cool if an air bubble forms close to the middle and creates these flat spheres. I will take some photo's soon with these. There is one photo of the first time that happened on the "photo's" page.